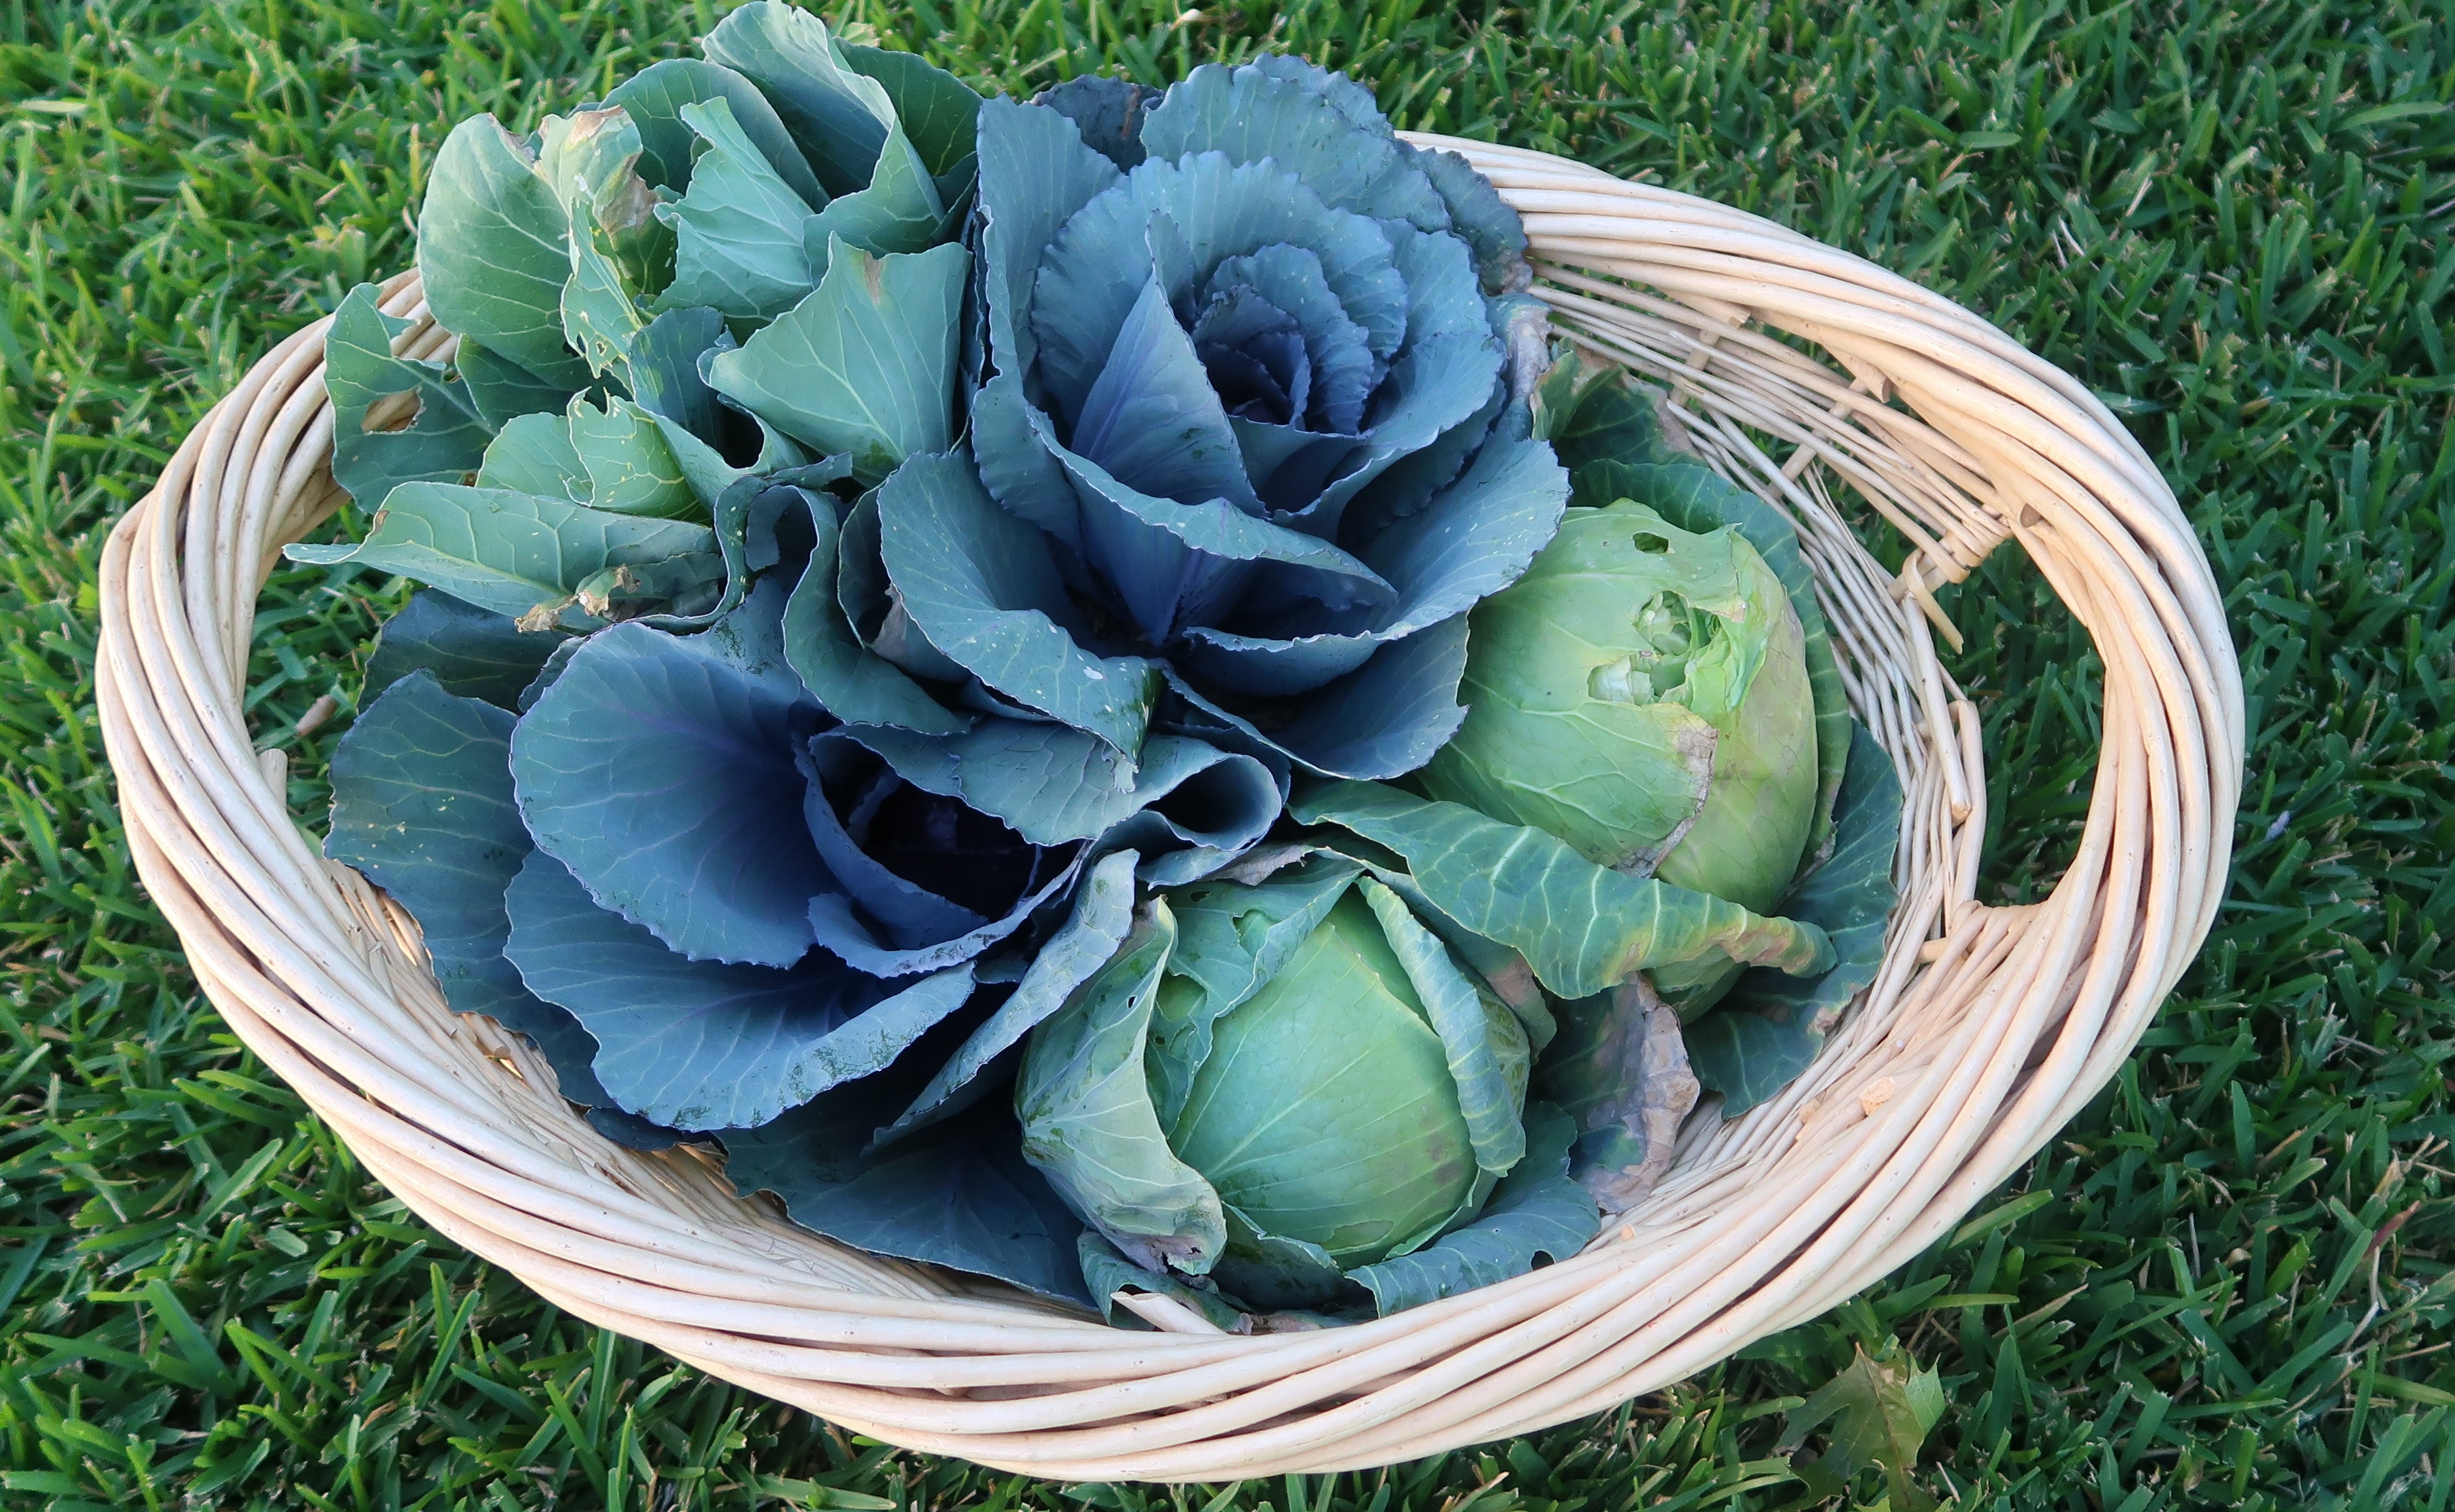
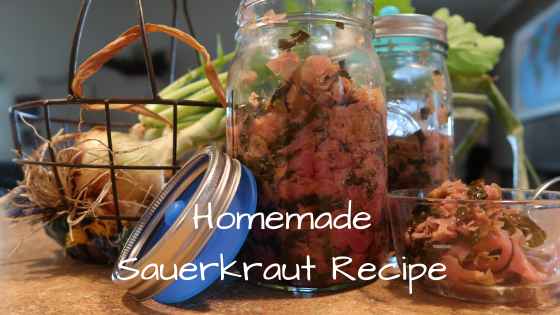
More & more scientists are finding evidence that a great immune system is linked to your gut. A fast track to great gut health is a little probiotic every day. Why not add sauerkraut to your daily health routine? It tastes great & is great for you! In fact, homemade sauerkraut is one of the least expensive and easiest ways to add probiotics to your diet! And you might need something else to do with all that cabbage you managed to grow?! Don’t worry, I’ve got you;)
Print Recipe
What you will need:
Fresh organically grown cabbage & salt. I like this type of salt. wide mouth mason jars & some time to have fun fermenting! Here’s hoping you get to ferment with a friend!
Why I like to ferment in wide mouth mason jars
I am not lucky enough to have a fermenting crock & weights passed down to me from my grandmother. If you are that lucky, cheers to you! I just have to say here that; those crocks hold a lot of sauerkraut! I love sauerkraut, pickles & kimchi, but I DON’T NEED THAT MUCH OF IT IN MY LIFE, EVER! Although my kids are coming around sloooowly to ferments, they are reluctant sauerkraut consumers;) At the present time it is really just me & my hubby that are enjoying this great fermented goodness; so with mason jars I can make small batches.
Another advantage to mason jars: Some like it HOT & some not! My hubby loves everything burn your lips off spicy; the rest of us, not as much. With mason jars I can make him his own personalized batch, so he feels loved with each fiery bite!
The right equipment makes it so simple
Since kraut is one of the most budget-friendly health boosters, if you invest in some inexpensive tools for fermenting, you will be more likely to make it a regular part of your diet. You can use them for other ferments too. Anyone up for turning those cucumbers into pickles later in the season?! This is what I use:
- Glass Fermentation weights- These keep the cabbage under the water level of the brine, which protects the fermentation environment. I used these Pickle Pebbles. Another option is to use a small glass jar filled with water or rocks, as long as it fits inside the larger jar.
- Fermentation Lids – I used these Pickle Pipes. They were affordable, simple, easy to clean & worked great. A slightly more expensive option are these Easy Ferment lids.
- A Sauerkraut Pounder- I wish I had purchased one of these, because I always end up having to find something to use to pound down my cabbage, which can be more challenging than you might think! I am definitely going to get one. Here is the one I am getting Pickle Pounder
If you are new to fermenting or you need a great gift for the ferment enthusiast in your life, then here is a full fermenting starter kit you can order. You’re welcome;)
Getting the salt right
When I first started making sauerkraut I had one main question: What is the ratio of salt to cabbage? The easiest way to answer that is; you want a 2% salt solution. To find that out you have to:
- Weigh your cabbage in grams. Here is a scale like the one I use. (Of course zero out the scale from the weight of the bowl)
- Take the weight of cabbage in grams & multiply by .02 to give you the weight of the salt you need to use.
This might seem like a lot of trouble, but if you don’t get the cabbage/salt ratio right, you can end up with salty mushy sauerkraut. Warning: If you make your kraut badly the first time, your family will be VERY reluctant to try it again. Ask me how I know;(
Homemade Sauerkraut
Equipment
- 2 quart, wide mouth mason jars w/lids
- fermentation weights
- fermentation lids
- sauerkraut pounder
- kitchen food scale
Ingredients
- 2 heads of cabbage
- 2 tbsp salt(depending on weight of cabbage) see instr.
- 1 tbsp carraway seed
Instructions
- Remove the outer leaves. Slice the cabbage into quarters & remove cores. Then, thinly slice into very thin ribbons.
- Weigh cabbage in grams, Multiply weight by .02 to figure amount of salt needed=2% salt solution
- Weigh out salt according to amount needed for 2% solution
- Sprinkle the salt over cabbage. Knead and squish the cabbage/salt with your hands & pound for about 30 minutes. After a few minutes, the cabbage will start releasing liquid and by the end, there should be enough liquid brine to cover the cabbage in the crock or jar. Add the caraway seeds at this point if you are using them.
- Stuff the cabbage very tightly into the jars. Pour any liquid from the bowl into the jar. If needed, add just enough water to make sure the water/brine covers the cabbage entirely. If the cabbage is fresh, no liquid may be needed, but don't worry if you have to add a little water.
- Add the fermentation weights to keep cabbage below brine & fermenting lids to release gases.
- Watch the fermenting magic happen! Fermentation will begin within a day and take 1-2 weeks depending on temperature and desired tartness. After 3 days check for tartness/taste. Taste is the best measure here, so check it often and stop the ferment when you get the desired taste. Note: It is normal to see bubbles, white scum, or foam on top during the fermentation. You shouldn't see any actual mold, though. If you do, scrape it off the top, and make sure all the rest of the cabbage is fully submerged. All cabbage below the brine level should still be fine.
- Place in fridge to stop fermentation, Your Sauerkraut should stay good up to 6 months
- Enjoy a spoonful or two on tacos, eggs, salads. brats ect.
Temperature makes a difference
If it is cooler in your house fermentation is very slow. If you have spurts of crazy warm weather, like we do here in Dallas TX, then your ferment will speed along like a race car pushing towards the finish! Finding a cool place for fermenting can be a challenge! I have found that checking my sauerkraut often for taste is the key to a yummy ferment that your family will love! So don’t stick it somewhere & forget about it! It will get all mushy. Again, ask me how I know;)
Make it Stop!-
Once you’ve achieved the desired level of yummy goodness, it is important to move it to the refrigerator to stop the fermentation. At this point, it will store for up to 6 months if kept cool and with the kraut below the brine. Enjoy!
I always like to see things done. If you are the same, then I’ve got you covered with a little farm fun thrown in for good measure! Enjoy!
This post contains affiliate links for your ordering convenience. If you order through this link I get a small amount sent to me at no cost to you. Thanks for supporting our homestead @ Bloom Where You’re Planted!


0 Comments