

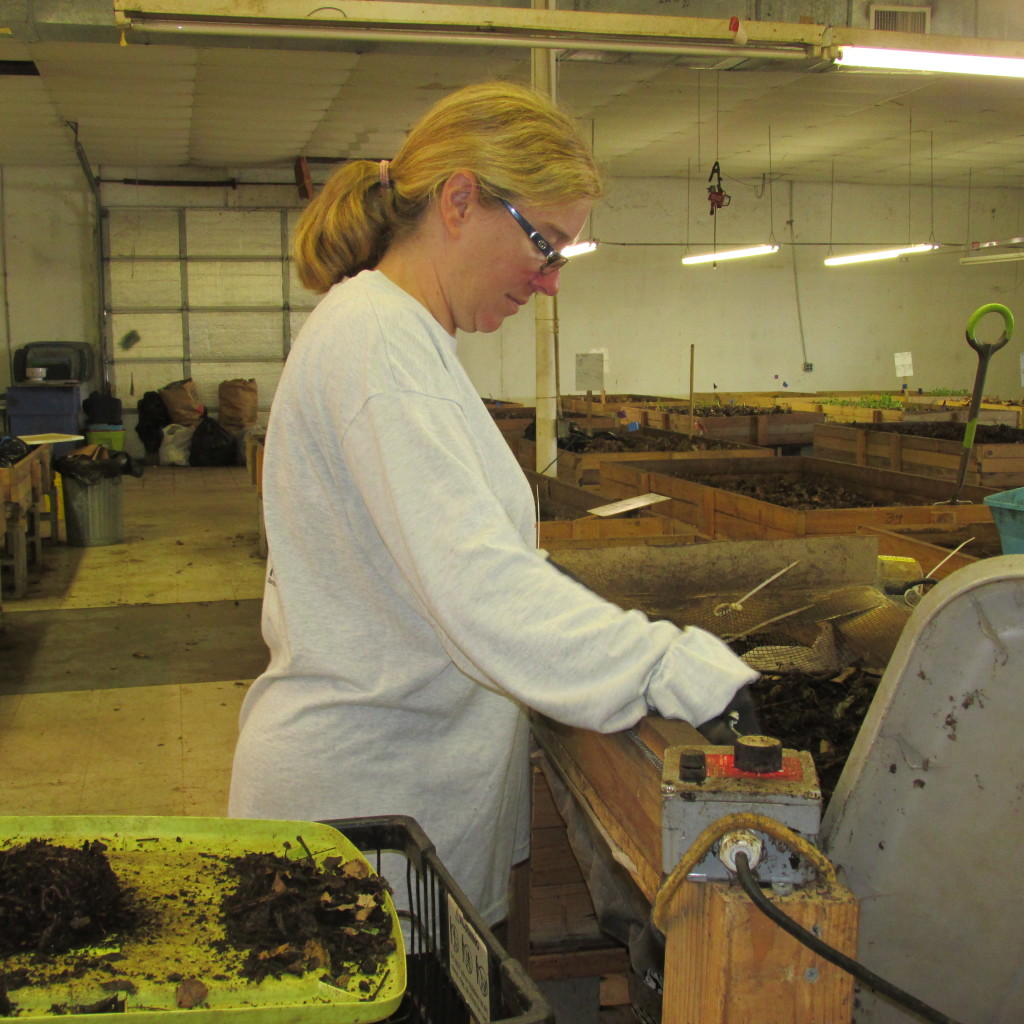
Just recently, I had the pleasure of interviewing Heather at her business, The Texas Worm Ranch. First of all I love the name, Worm Ranch. She is the main wrangler at the ranch and let me tell you it was quite the pondarosa indeed. Wooden beds fill the expansive warehouse space containing worms in various stages of life. She not only raises worms to help people get started with vermicomposting, but also sells “black gold” aka earthworm castings. Turns out this stuff is VERY beneficial for the plants growing in your garden. Think of it as the ultimate natural super food for your plants. Heather educated me about earth worm castings. This is what she had to say:
“While there are nutrients in worm castings, the real benefit to worm castings are the millions of beneficial microbes that are present in them. Those microbes eat organic matter in your soil and release plant available nutrients. Fungi in the castings form symbiotic relationships to transport water and nutrients to the roots. Fungi can hold water in the soil and help with water management. Worm castings will have at least 10 times more microbes than soil or regular compost”
I have been learning a lot about gut health lately. It seems it is VERY important to have the right mix of beneficial bacteria and yeast in your gut to help make the food nutrients available to your body. I guess the same goes for the beneficial microbes in the soil to make the nutrients available to the plants.
Heather and I hit it off right away as we both had similar reasons for getting started with gardening; our families. When your children start to have health problems you start to look at what you are eating, because frankly it is one of the only things you can control in the whole equation. Turns out mama’s instincts might be right on track. People are finding out that eating fresh organic food makes a big difference in, not only how you feel right away, but long term overall health.
Another thing we had in common is that we started a worm bin right about the same time in our lives. This is where our paths divide. While I failed miserably with my bin(turned into a soupy, stinky mess) she succeeded and was so impressed with the outcome(worm poop) that she turned it into a thriving business. I know! Why couldn’t that be me? This time, with Heather’s help, I think I can succeed at this worm castings thing and I think you can too.
With the memory of my stinky bin from the past, the first question I asked was, “Can I have it outside?”
Bad news is that these red wigglers like a temperate climate just like we do, so I am stuck with worms inside my house. However those of you that know me well already know that I have meal worms over my dryer ,so this is not really a huge leap for me. LOL!
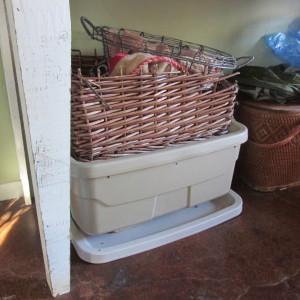
The good news is; Heather promised me that, if done properly, the bin should NOT smell and, in fact, no one will even be aware that it is present. I, of course, had to test her on this so was very sneaky in placing my bin in my dining room under my hutch. I honestly still don’t think my family has noticed it yet. Score for me!
What you will need to set up a vermicomposting bin:
- You will need a 10 gallon plastic storage bin with drainage; 1/4 ” holes drilled on the bottom(4 corners) and around the top spaced every 4 inches.
- Worms-Not just any worm, Red Wigglers! Note to self, all worms are NOT created equal. So don’t dig them, don’t stop by your local bait store to pick some up. Get them from someone who runs a worm ranch! Get your Red Wigglers here.
- A plastic lid to put under bin to catch any drips & bricks to lift it up
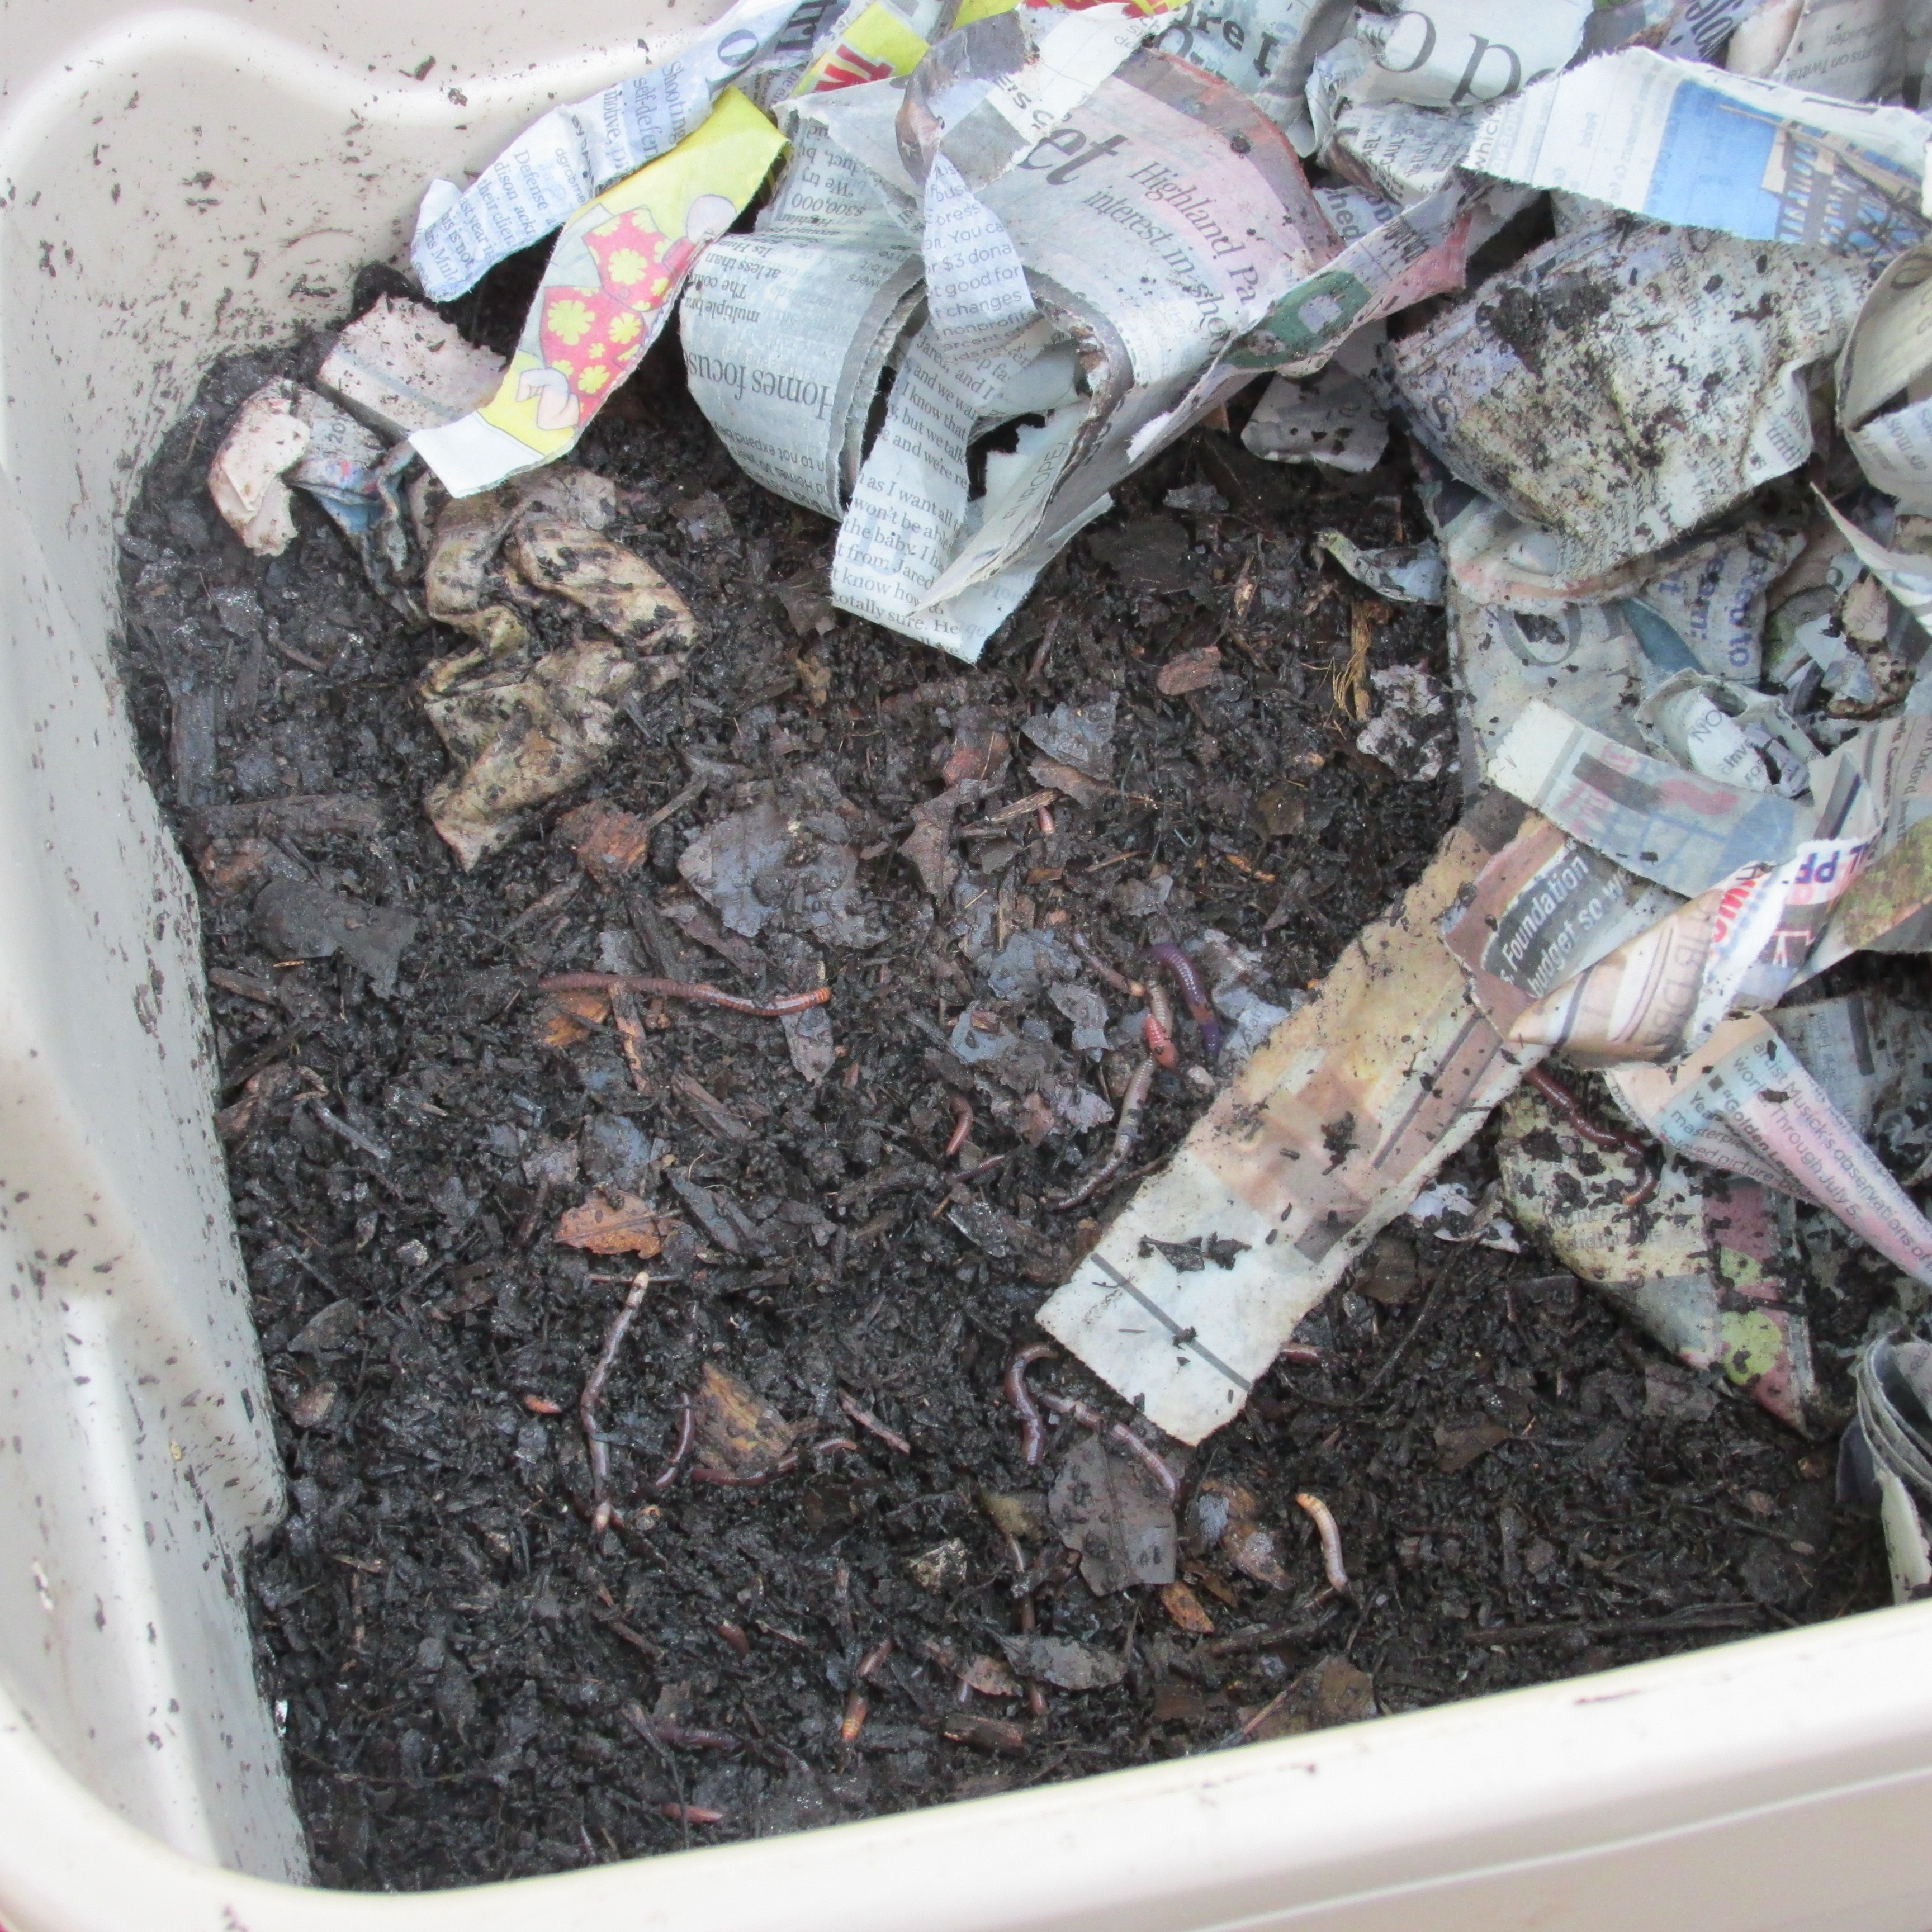
- Newspapers torn into strips
- Food scraps
My next hurtle to jump was that “the worm wrangler” had just told me to put drainage holes in the bottom of my bin AND keep it inside. O.K. I don’t know about you, but the words drainage holes and inside don’t really go together in the same sentence.
Get ready for the next kernel of wisdom: Don’t make it too wet or feed them too often.
To start off your bin, you will want to put a layer of compost on the bottom covered with DAMP newspaper strips on top.
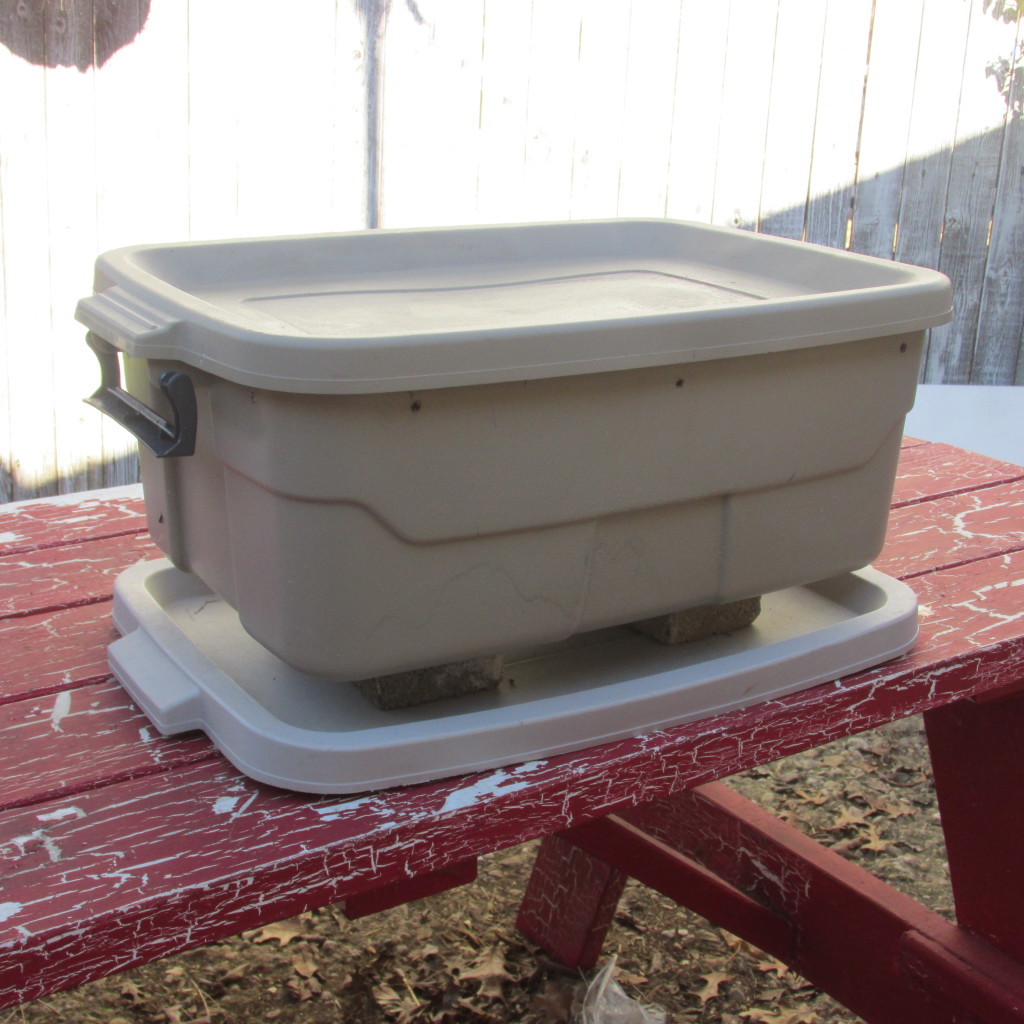
Putting your bin up on bricks with a plastic lid under it is a good idea to provide aeration, not really to catch drips. If you have done your bin right you should NOT have drainage coming out the bottom.
I have to confess here that my first bin I viewed as a garbage recycler. You can be sure I fed these worms WAY more than a hand full every 4 or 5 days. That, the wrong worms, and WAY to much water to start with = the soupy stinky mess I got.
It is in the in between layer that you will feed your worms. They only need to be fed about every 4 days and just a hand full.
This new way will work out well because, back then, I only had my worm bin to dispose of my scraps. Now I have chickens, rabbits, meal worms, black soldier flies and compost. When all is said and done there will only be a handful left! Interestingly enough she gets her main supply of worm food from a juice bar company. If you juice your veggies this would be the perfect food to throw to the worms. So to put it plainly there really should not be any “drainage to worry about” a bit of cardboard or plastic lid under your bin with bricks lifting it up could be good, just in case.
Alright, now I have my bin all set up and working incognito very well, but what I am interested in is this “black gold.” See the best way to harvest this nourishing addition to your garden and how to use it, here. You have to love it when something turns your food scraps into super food while you go about your life! The Texas Worm Ranch has everything to get you started.
If you are just NOT open to having worms in your house, that is o.k. I think I am a little on the odd side to embrace insects like I do. In that case the Texas Worm Ranch has worm castings or “black gold” you can buy. Heather brought up an interesting point; that the buyer has to be aware of unscrupulous dealers of “black gold.” Meaning that a lot of companies can sell their product for a cheaper price by feeding a cheaper feed. That cheaper feed is often times peat moss. This produces a product which looks like black gold but is actually nutrient deficient and will NOT have the same results in your garden. Heather was a bit more brainiack than me and seemed like she had delved deep into soil micro biology, going so far as to send casting samples off to the lab to make sure they are delivering the quality product that they claim. Also she felt strongly about providing her workers with a living wage which we know doesn’t happen everywhere. So if you find cheap “black gold” somewhere, it might not be “gold” at all.
See 4 ways to harvest your Black Gold here.

0 Comments