

I have a confession to make. You know how some kids, to be truthful some adults, think that their meat comes in those little plastic wrapped packages from the store? On some level, they know that the meat they are buying was once a live animal and that someone cared for it/raised it up and butchered it for them. However, most of us, if were honest, prefer to think of it in that neat little package at the store. Am I right?! Before our experience raising animals for food, if you had asked my little ones where meat came from, they would have answered, “The store of course.” If you had pressed them further by asking, “Where does it come from before that?” They would have been puzzled and answered again, “The back of the store?”
My confession is this; I feel the same way about seeds! They come in a packet from the store or seed company. Right? Is there somewhere else you get them? I know, crazy thinking isn’t it, but none the less that is how my city brain works.
So it is time to really come face to face with where seeds come from. This is my goal for the year ahead; to attempt to save seeds from every plant that I harvest from my garden. Of course the next step is to plant new plants from my saved seed, therefore saving more than seed but, you guessed it $.
Here is my saving seeds 101:
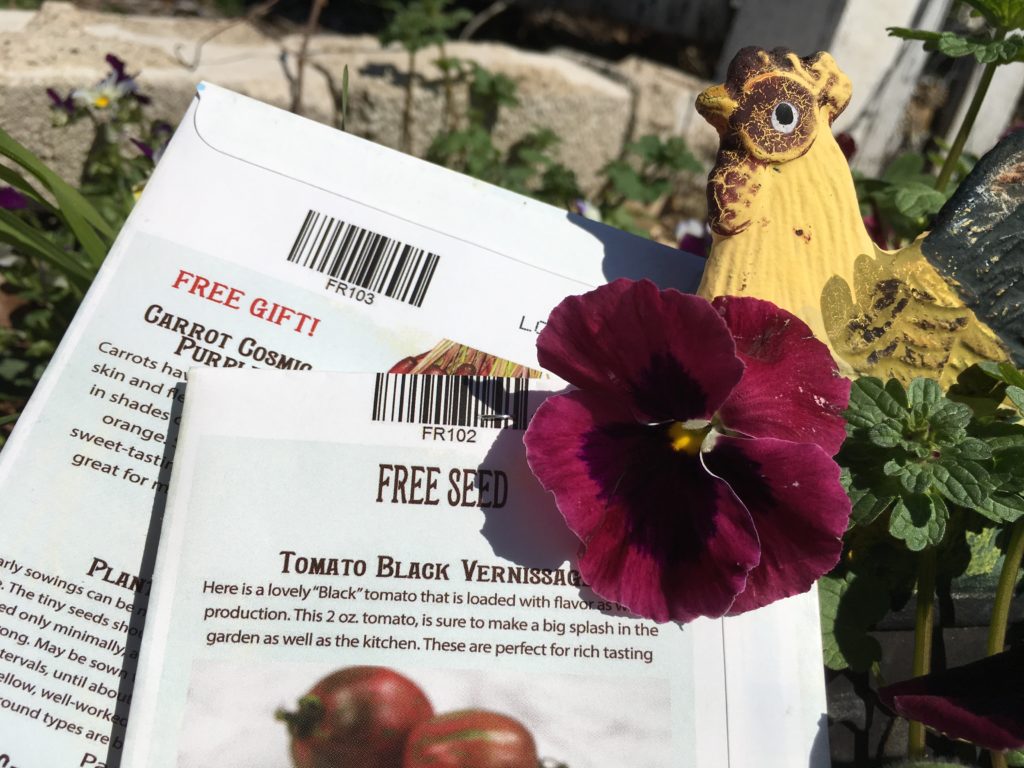
Step 1- Start with Heirloom or regular seeds.
Hybrid seeds have been bred to have a certain characteristic. For example; The characteristic, to bloom early paired with a disease resistants, to make a super fantastic garden performer. That sounds great and it is, but with one big draw back. If you harvest a hybrid tomato, save the seeds and grow a plant from them, it will not have the same characteristics as the super fantastic plant that you got such a good harvest out of.
If you want to save and grow from seed, therefore making your garden more sustainable, then you have to start with heirloom or regular seed.
How do you know which seeds are hybrid and which are not?
Easy, if seeds are hybrid they will brag about it on the label/description because the seed grower went to a lot of trouble to get the seed that way & it will probs be more expensive. This video shows a good example of what happens when seeds are harvested and planted from a hybrid sunflower if you are interested in diving into seed making a little deeper.
There are lots of heirloom seed companies out there. I have personally had experience with two: Seeds Now, Territorial Seed Company & Baker Creek Heirloom seeds. All of these companies, I have had great experiences with. So you plant your seed, grow it into a great plant. If you are pleased with the performance and veggie type then you are ready for step 2.
Step 2- Let one of your vegetables grow well past eating size for plants like squash. For plants like lettuce, spinach etc. let it bloom/bolt as gardeners call it.
I harvested seeds from yellow squash and zucchini this week so for now I will concentrate on this type. Cut it lengthwise and just scoop out the seeds, while you are fixing dinner, setting aside like I did. This works well when making zucchini boats since you are scooping out the seed anyway. Yum!
Step 3- Fill up a large bowl with water and work the seed loose from pith(white or sometimes goopy stuff in between seeds) with fingers.
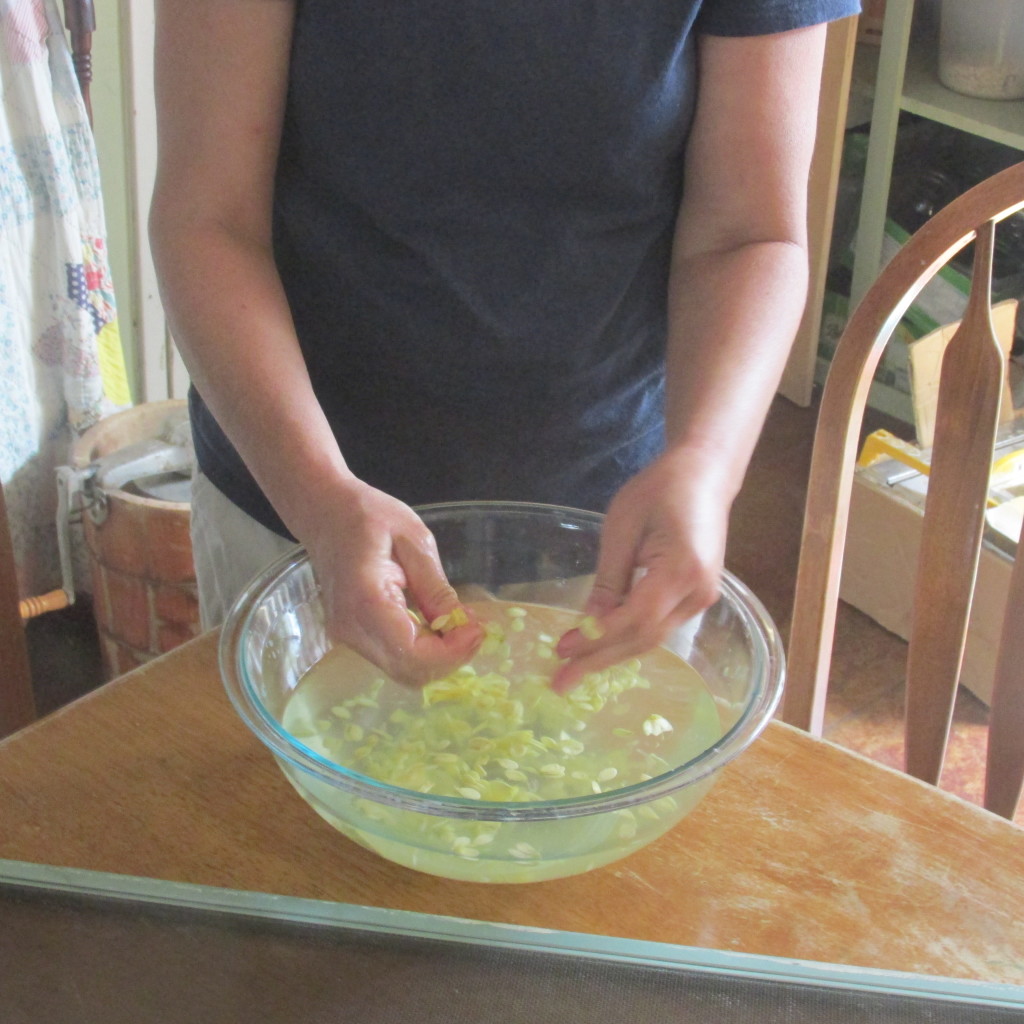
Conveniently, the pith floats. After you have all the pieces of pith picked out then you notice lots of your seeds are also floating. These floaters are the bad seeds, scoop those out with a small strainer.
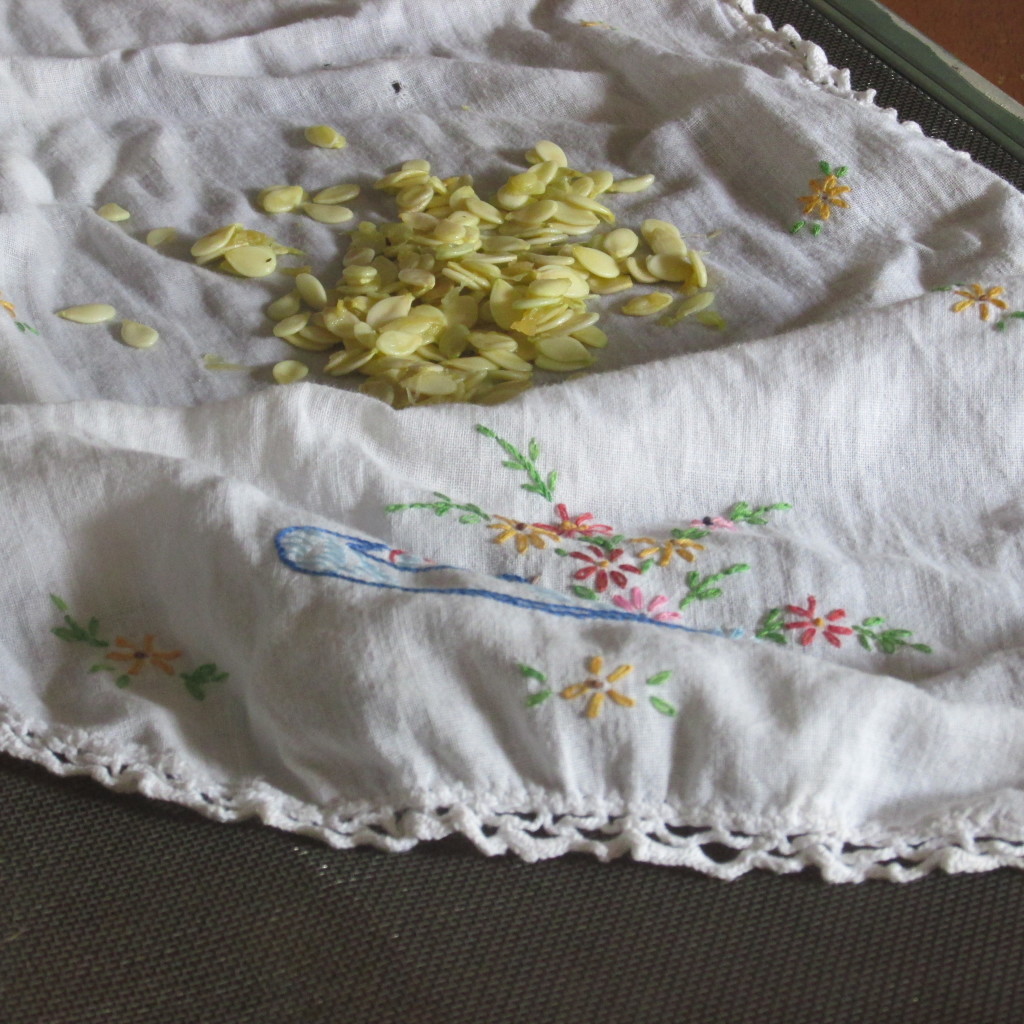
Step 4 – Strain water from the seeds left on the bottom of your bowl and dry in kitchen towel.
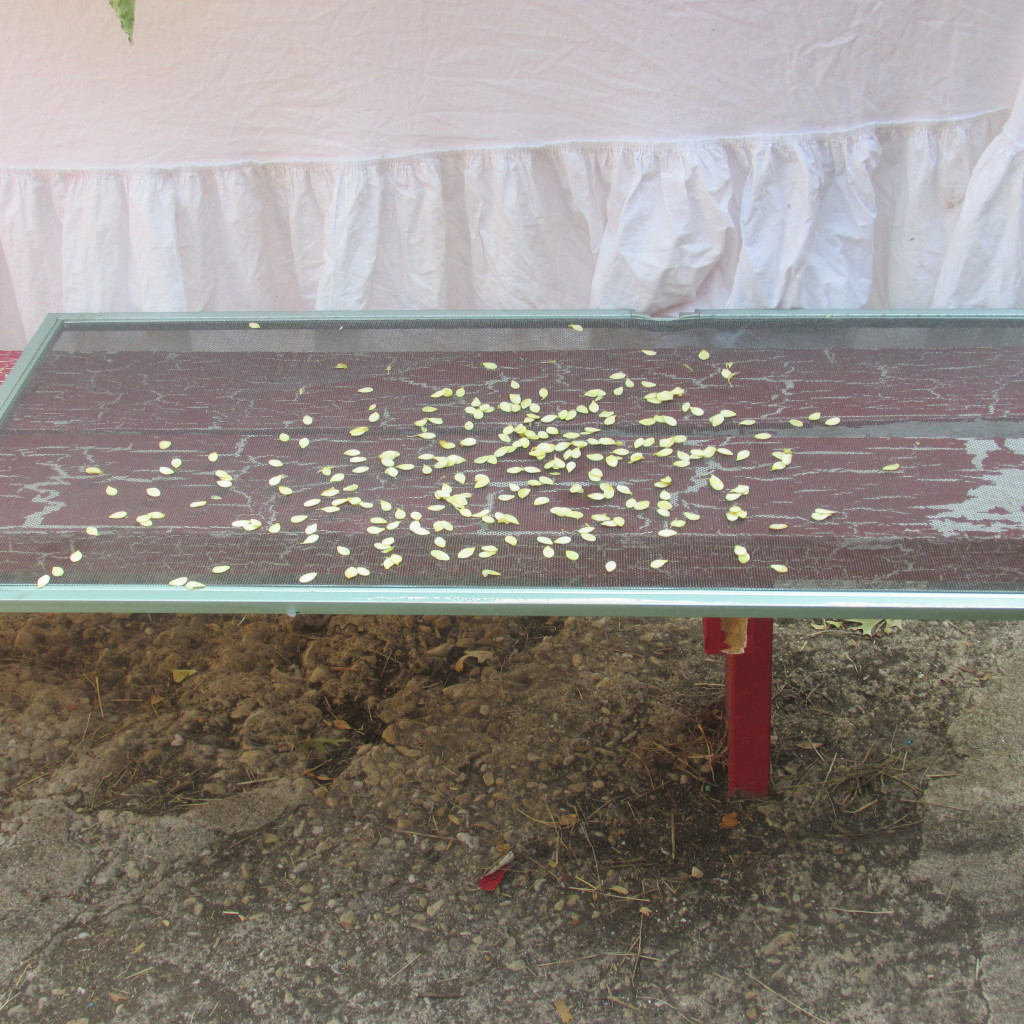
Now you want to lay them out to dry in a shady dry place. I used an old window screen to dry mine on, but I have a friend that puts them on paper towels. They might stick a little to the paper towel, but no matter, it will degrade when planted. I put mine out on my patio in the shade for a few hours on my screen. When they are completely dry(make a rattle sound when stirred around) they are ready to be stored.
Step 5 – All you have left is to mark and store your seeds.
I have included a free printable seed packet for you to use. Your kids can color it if you want. This is a great way for your kids to get involved in learning the lost skill of saving seeds! Mine also liked to take turns having their hands down in the water working the seeds loose! Be sure to fill in the blanks on your seed packet with all the details of your harvest and veggie.
What is the best place to store your seed?
I live in a warm humid climate(Texas) so I used to keep mine in the fridge in a pull out drawer. See the seed storage system I use now, that I am loving! In this video! Where do you keep your seeds? I love to hear how others do things, so be sure to let us know in the comments.
If you want, you can test your seeds. I am going to test mine for sure. Isn’t it funny how we trust something more from the store/seed co. than if we saved it ourselves. Another silly way my city brain works. Have you ever seen germination 90% on the back of your seed packet? You can find out the germination rate for your seeds by planting 10 seeds and seeing what percentage germinate (if 9 out of the 10 seeds come up then you have 90% germination) I will let you know when I am done with my germination test.
Stay tuned as I will be showing how to save seeds from different plants as we move through the gardening seasons.
I hope I have inspired you to think about seed saving differently! Don’t forget to tell us how/where you store your seeds in the comments!
Blessings, Dash
I’m afraid it is becoming a lost skill, but I’m glad you’re talking about it and maybe inspiring folks to do it! Great tutorial!
Thanks for sharing at the Our Simple Homestead Blog Hop this week!
oneashhomestead.com/2015/10/homestead-blog-hop-23/
Hi Alexandrea, Thanks for stopping by. I just got back from your farm (digitally of course) It was lovely! Good to meet your and yours!
Dash
Thank you for sharing your post on Our simple Homestead Blog Hop, as one of the co-hosts I am going to feature your post tomorrow. It is so important to learn how to save seeds! Hope to see you at the Hop tomorrow! – Nancy Nancy On The Home Front
Great post! I’ve saved a few varieties of seeds over the years, but I usually forget that I have them and don’t plant them. (I really need to get organized when it comes to gardening.) I can’t wait to see what your germination rate is. I’m not completely sure about this, but I’ve read recently that seeds need to go through a cold spell, or even a freeze in order to germinate well. It’s fascinating how these things work. Thanks for sharing on the Homestead Blog Hop!